Potatoes

How to make Potato Wedges

Oven-baked wedges with seasoned skins, crisp edges and fluffy interiors.

What it is

Potato Wedges in the kitchen

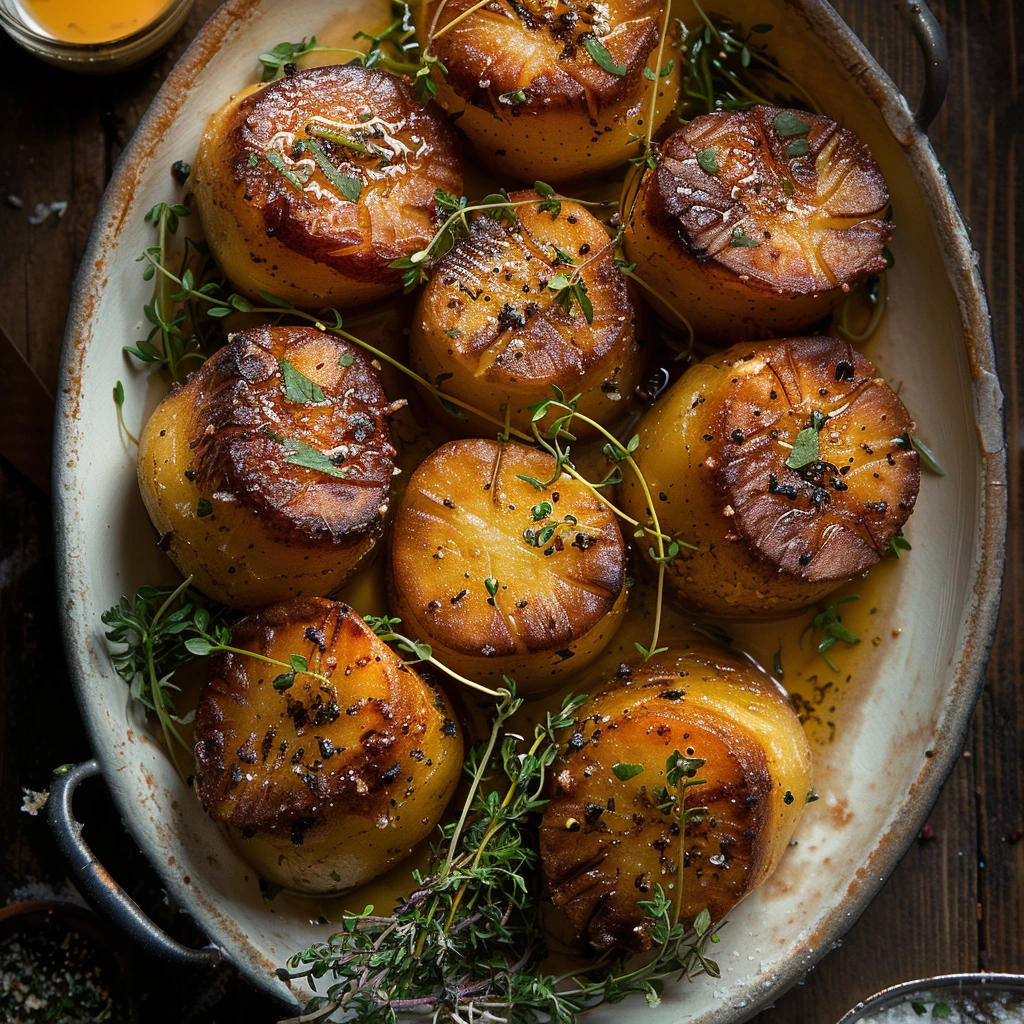
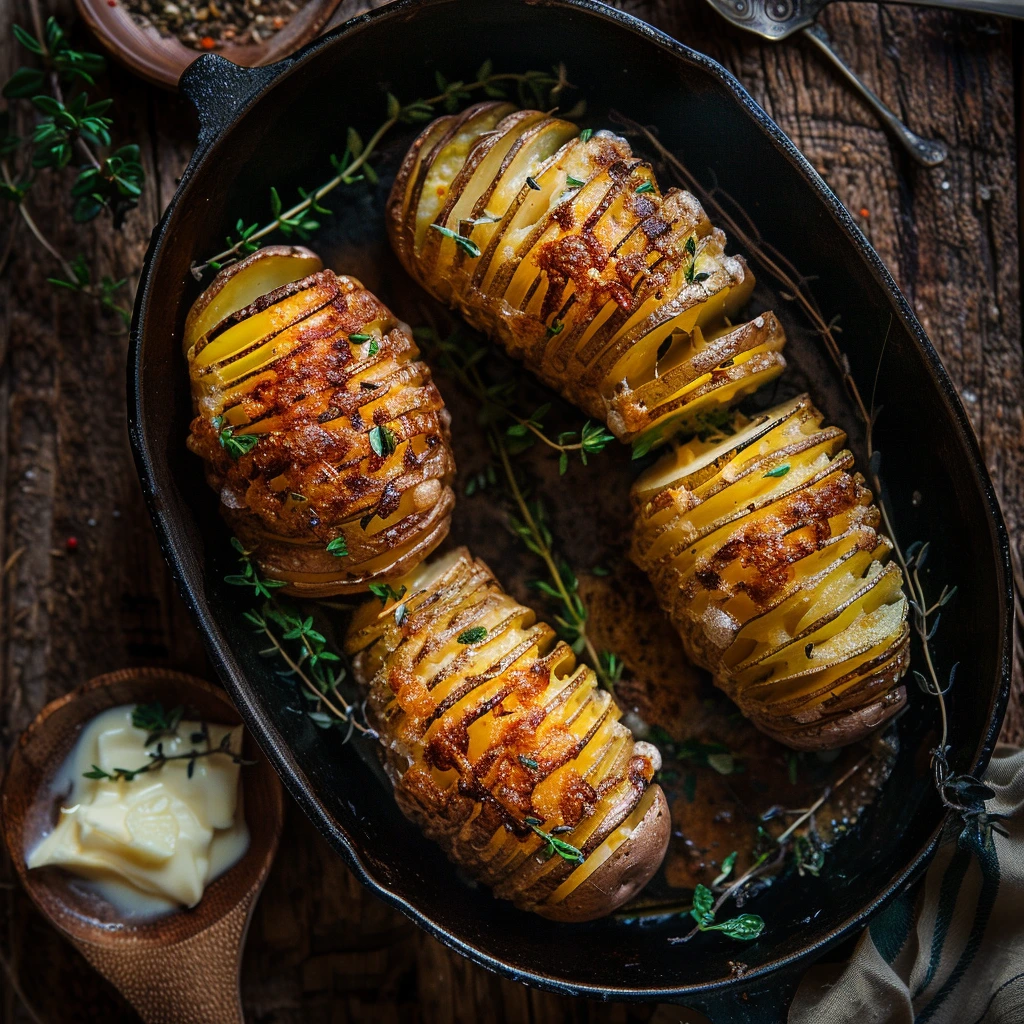
Potato wedges are thick potato pieces tossed with oil and seasoning, then roasted until browned outside and tender inside.

Why make it

Make potato wedges when you want a relaxed potato side with bold seasoning, crisp corners and a soft centre without deep-frying.

Best with

burgers, grilled chicken, chilli, dips, barbecue food and salads
Method

Step-by-step

  1. Step 1

    Prepare the potatoes as follows: unpeeled potatoes cut into 8 long wedges each. Keep the pieces even because this dish depends on all potatoes finishing at the same time.

    Look for: Potatoes are uniform: unpeeled potatoes cut into 8 long wedges each. Tip: Use a ruler once, then copy that size by eye. Avoid: Uneven cutting is the quickest route to raw centres and burnt edges.
  2. Step 2

    Use a large roasting tray. Bring the cooking surface or oven to 210°C before the potatoes go in.

    Look for: The large roasting tray is hot enough that the potato starts cooking immediately. Tip: Preheat longer than you think for cast iron, trays and waffle irons. Avoid: Adding potatoes to a cold pan or oven makes them absorb fat before browning.
  3. Step 3

    Cook the potatoes gently at first so the centres soften before the outside gets too dark. For layered dishes, keep the slices flat and pressed; for fried dishes, leave them still until the first crust forms.

    Look for: Centres begin to yield while the outside is only lightly coloured. Tip: Listen for a steady sizzle rather than aggressive spitting. Avoid: High heat from the start gives dark surfaces with hard centres.
  4. Step 4

    Add the fat, seasoning and aromatics at the point they will flavour the potato without burning: delicate herbs and garlic usually go in after the first browning, while spices need enough fat to bloom.

    Look for: Aromatics smell fragrant and the fat is tinted or glossy, not burnt. Tip: If spices are sticking, add a spoon of water, stock or oil depending on the dish. Avoid: Raw garlic or scorched spices make the whole dish taste harsh.
  5. Step 5

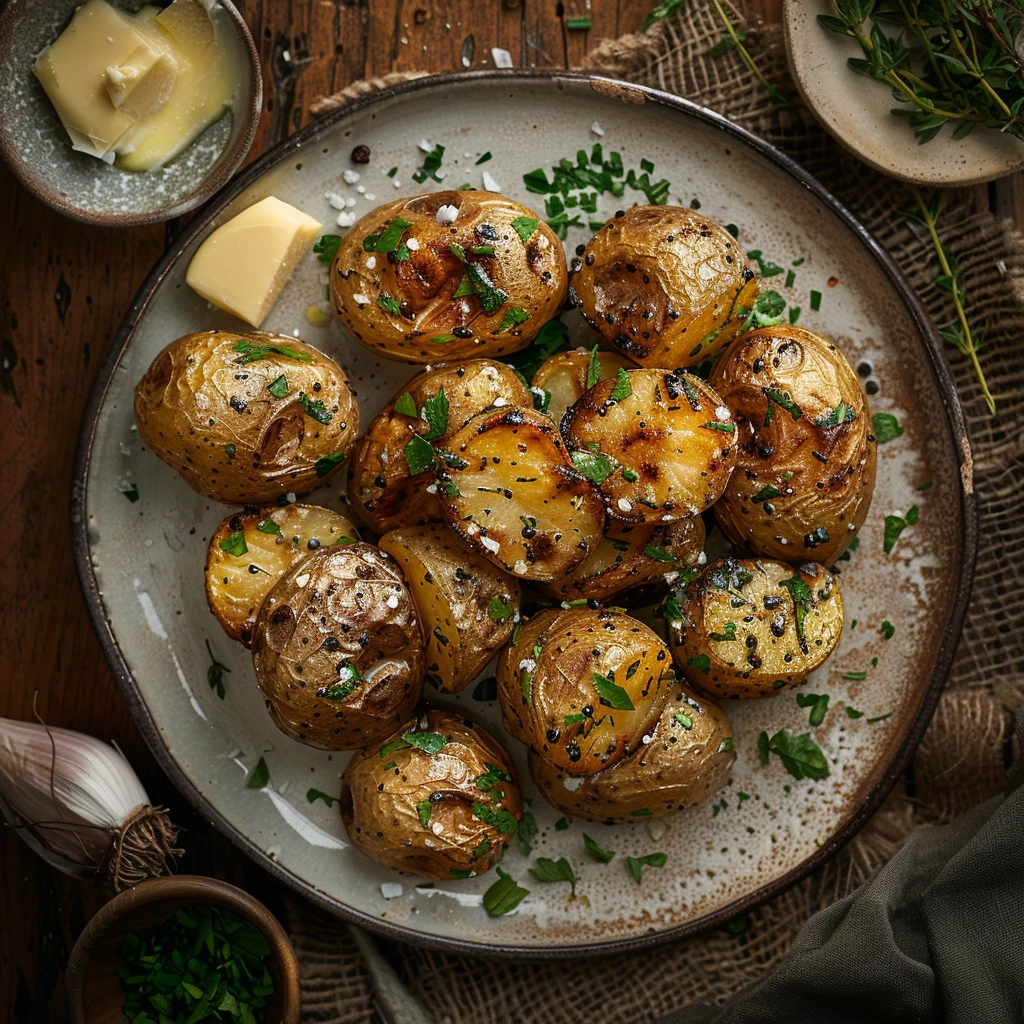
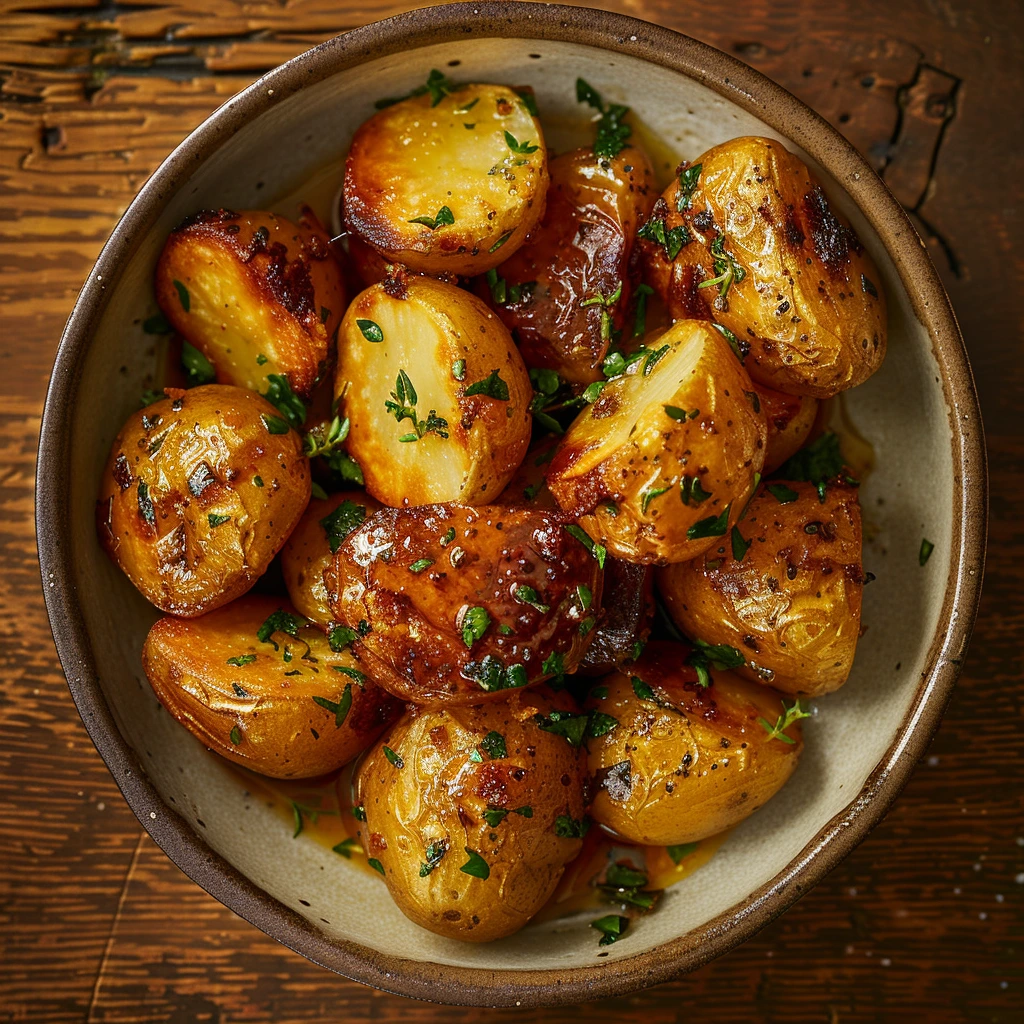
    Continue until the dish shows its correct finish: browned corners and fluffy middles. Adjust the heat if the outside colours before the centre is tender.

    Look for: Browned corners and fluffy middles. Tip: Use a knife, skewer or spatula test rather than relying on the clock alone. Avoid: Stopping at pale beige usually means the potato has not developed enough flavour.
  6. Step 6

    Rest briefly if layered, baked or mashed; serve immediately if fried or crisp. Taste for salt at the end because potatoes mute seasoning as they cool.

    Look for: Texture is settled but still hot; crisp dishes remain dry on the surface. Tip: A final pinch of salt or fresh herbs should land just before serving. Avoid: Covering crisp potatoes tightly traps steam and softens them.
Storage

Make ahead and storage

Storage

Cool leftovers quickly, store covered in the fridge for up to 3 days, and reheat until piping hot. Crisp potato dishes are best refreshed in an oven or air fryer rather than a microwave.

Make ahead

Prepare the potato cuts, sauce or first cook stage ahead where possible, then finish close to serving so the texture stays at its best.

Freezing

Most potato dishes freeze acceptably but crisp or creamy textures are best fresh. Freeze only fully cooled portions and reheat from chilled or thawed until hot throughout.